How to assemble them
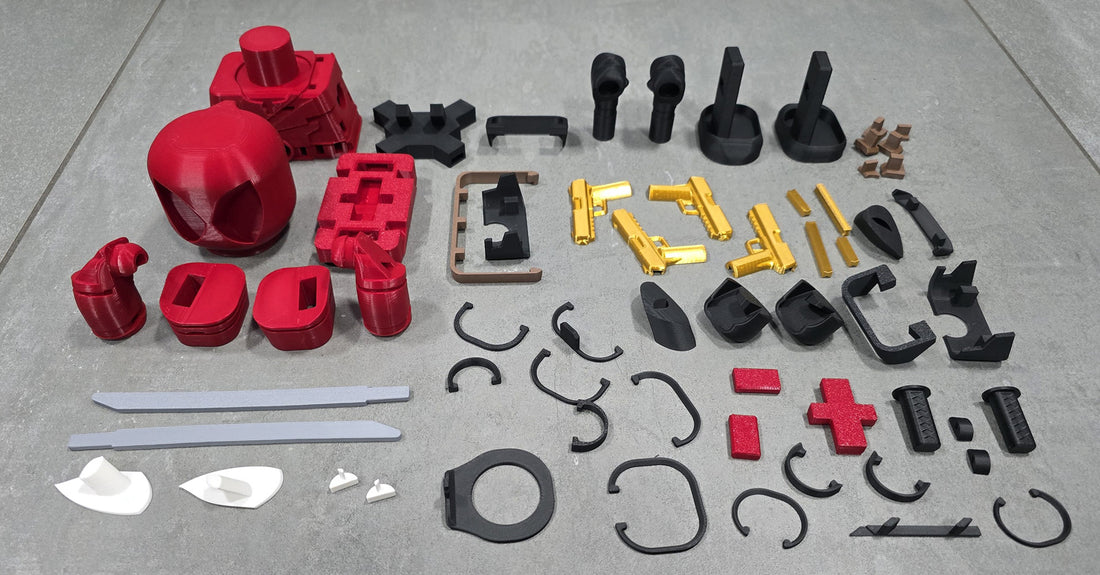
1. Example of a 62-piece Poolchanki composition:
- You don't need any glue to assemble it, everything is put together by pressing, sometimes a lot of pressure is needed, so don't be afraid of that. The Polčanki consists of 62 pieces.
2. Instructions:
- Printed Instructions : Follow the instructions that come with the printed version. Pay attention to the illustrations that show how the Čanki is assembled and also help you visualize what the finished product should look like.
- Electronic instructions : Instructions are also included in electronic form (Bar code), simply take a photo of it. You can use it on your phone, tablet or computer for more accurate assembly (zoom).
3. Pre-assembled critical pieces:
- We assemble the small critical pieces , meaning that the more complex or delicate parts are already assembled. Check these assembled pieces and store them until you need them.
4. Assembling:
- Follow the instructions step by step and start assembling the product.
- Pay attention to the order of assembly - start with number 1 and follow the sequential numbers
- Make sure everything is firmly attached , but do not overdo it with force on the smallest pieces to avoid damaging the parts.
5. Final inspection:
- Once you have finished assembling, check the product with our picture and compare the final result with the instructions to ensure that all parts are installed correctly.
If you have any further questions or need help with certain steps, we are at your disposal!


